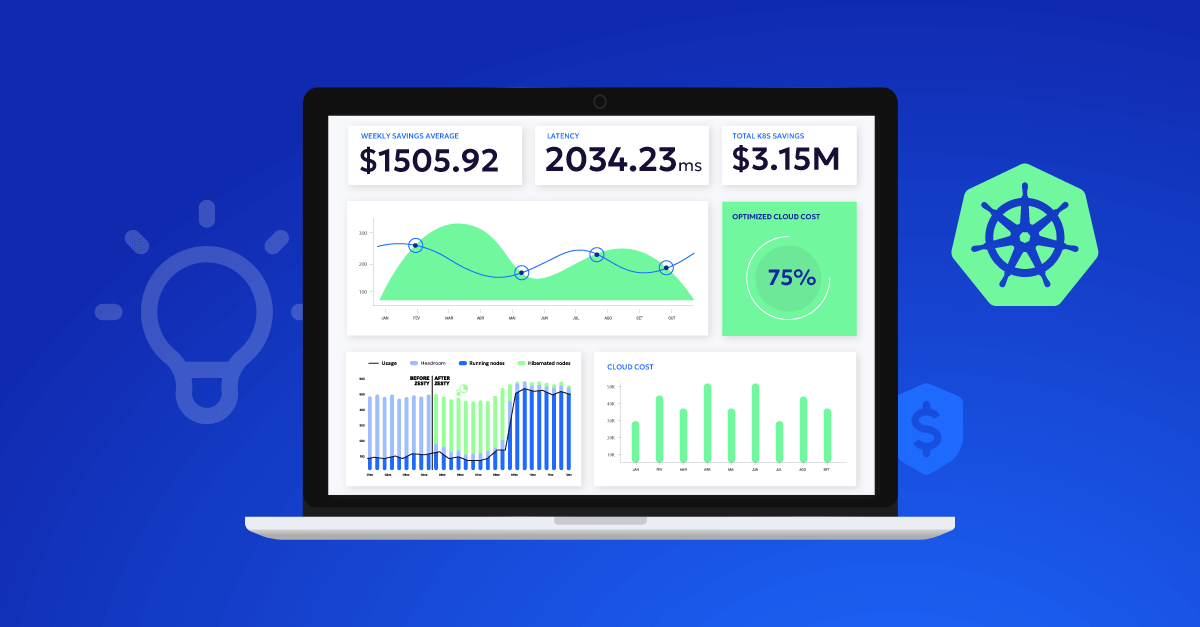
Running applications in Kubernetes is incredibly powerful, but let’s be honest: optimizing costs can be a challenge. Between scaling pods, handling storage, and managing complex workloads, expenses can quickly spiral out of control if we’re not careful. The good news? Kubernetes also provides several built-in tools and techniques to help you keep a handle on costs—if you know where to look.
In this guide, I’ll walk you through two main types of cost-saving strategies: Architectural Optimizations and Configuration Optimizations. Architectural choices help you set up Kubernetes in a way that’s designed to be efficient from the ground up. Configuration tweaks, on the other hand, are all about ongoing management to make sure you’re not overspending in your day-to-day cluster operations. Let’s dive in.
Architectural Optimizations
Architectural optimizations focus on designing your Kubernetes cluster efficiently from the start. These foundational choices help prevent costs from accumulating unnecessarily.
1. Implementing Horizontal Pod Autoscaling (HPA)
For scaling pods based on demand, Horizontal Pod Autoscaler (HPA) dynamically adjusts the number of replicas in a deployment, scaling up during high demand and down during low activity. This balance helps maintain performance without incurring extra costs.
To configure HPA, you’ll need the Kubernetes Metrics Server for real-time CPU and memory data. Set target utilization levels based on the needs of your application—say, 50% CPU usage. During peak hours, HPA adds more replicas to handle the load, and during quiet times, it scales down to reduce costs.
2. Using Cluster Autoscaler
Scaling pods is only part of the story. For node-level scaling, while Cluster Autoscaler has been a popular choice, many Kubernetes users are now turning to Karpenter for more efficient and flexible node management.
Karpenter is an open-source, flexible, high-performance Kubernetes cluster autoscaler. It helps with just-in-time node provisioning, making more intelligent decisions about when to add or remove nodes based on pod requirements.
- Enable Karpenter: Karpenter can be easily installed in your Kubernetes cluster and configured to work with major cloud providers. Unlike traditional autoscalers, Karpenter doesn’t require predefined node groups. Instead, it dynamically provisions the right nodes based on pod requirements, leading to faster scaling and better resource utilization.
Karpenter ensures your cluster scales to fit workloads more efficiently than traditional autoscalers, minimizing the need to pay for idle nodes while maintaining flexibility and improving cluster efficiency.
3. Minimizing Cross-AZ and Cross-Region Traffic
Data transfer between availability zones (AZs) or regions can result in significant additional costs, especially when applications frequently communicate across zones. To reduce these charges:
- Keep Traffic Localized: Where possible, set up services and pods to run within the same AZ to avoid data transfer fees. This may require adjusting how workloads are distributed but can save on data transfer costs.
- Use Pod Affinity Rules: Kubernetes allows you to specify affinity rules for pods, so you can guide workloads to the same AZ or even the same node. For example, setting up pod affinity rules ensures that interdependent pods remain close to one another, reducing the need for cross-AZ data transfer:
affinity: podAffinity: requiredDuringSchedulingIgnoredDuringExecution: - labelSelector: matchLabels: app: example topologyKey: "topology.kubernetes.io/zone"
4. Optimizing Storage with Block and Elastic Network Storage
Efficient storage management is crucial for controlling costs in Kubernetes. While local storage can be tempting, it’s often not the best choice for production environments. Instead, consider these more robust and cost-effective options:
- Use Block Storage: Services like Amazon EBS or Google Persistent Disks provide durable, high-performance block storage. They’re ideal for stateful applications and databases, offering better reliability and easier management than local storage. If your storage needs only grow, you can extend these manually or with a script.
- Leverage Elastic Network Storage: For applications with fluctuating storage needs or those requiring shared access and high throughput, consider services like Amazon EFS or Azure Files. These elastic file systems automatically scale up or down based on usage, preventing over-provisioning or under-provisioning.
- Implement Storage Classes: Use Kubernetes Storage Classes to dynamically provision the right type of storage for each workload. This allows you to balance performance and cost based on each application’s needs.
- Consider Zesty PVC Solution: For production databases or applications with specific performance requirements, Zesty’s PVC (Persistent Volume Claim) solution offers dynamic scaling of storage resources. This helps optimize costs while maintaining high performance for critical workloads.
By utilizing these cloud-native storage solutions, you can achieve better scalability, reliability, and cost-efficiency compared to relying on local node storage. Remember to regularly review your storage usage and adjust your configurations to optimize costs without compromising performance. The key is to match your storage solution to your specific usage patterns and performance needs, avoiding both over-provisioning and under-provisioning.
5. Multi-Tenancy Setup
For organizations that have multiple teams or projects, a multi-tenant setup can reduce infrastructure costs by centralizing resources. In Kubernetes, multi-tenancy means creating isolated environments (called namespaces) within the same cluster, allowing different teams or applications to share infrastructure securely.
To implement multi-tenancy effectively and securely, consider using an open-source identity and access management solution like Dex. Dex acts as an intermediary, providing authentication and authorization services for your Kubernetes cluster. Here’s how to set it up:
- Install Dex: Deploy Dex in your cluster using Helm charts. This provides a centralized authentication system.
- Configure OIDC: Set up Dex as an OpenID Connect (OIDC) provider for your Kubernetes API server. This allows for token-based authentication.
- Integrate with RBAC: Use Kubernetes’ built-in RBAC to define roles and role bindings based on the identity information provided by Dex.
- Set Resource Quotas: Apply resource quotas to namespaces to limit resource consumption for each team or project.
This setup provides secure isolation between teams while allowing for centralized management, addressing both security concerns and configuration complexities.
6. Leveraging Spot Instances for Non-Critical Workloads
If you’re running tasks that can tolerate interruptions, such as batch jobs or CI/CD pipelines, consider using spot instances. These instances are typically available at a lower cost than on-demand instances, making them an effective way to reduce expenses for fault-tolerant workloads.
- Create a Dedicated Node Pool for Spot Instances: In managed Kubernetes services, set up a node pool specifically for spot instances. Use node affinity to ensure that only designated workloads (such as testing or batch processing) run on these nodes, leaving more critical applications on stable, on-demand instances.
Configuration Optimizations
Now that we’ve covered the architectural optimizations for your Kubernetes cluster, let’s shift our focus to configuration optimizations. These strategies are crucial for day-to-day resource management and complement the infrastructure changes we’ve already discussed. By implementing these configuration changes, you can further reduce waste, set clear cost boundaries, and optimize resource usage on an ongoing basis. Let’s explore these configuration strategies that will help you maintain a cost-efficient Kubernetes environment:
7. Setting Resource Requests and Limits
Resource requests and limits help Kubernetes manage container resources efficiently. Requests specify the minimum resources needed by a container, while limits set a maximum. Setting these boundaries helps Kubernetes schedule workloads effectively, preventing idle resources.
- Define Requests and Limits Carefully: Set memory limits for each workload, but avoid setting CPU limits. Memory is not compressible, so limits are crucial. CPU, being shareable, benefits from not being limited. For instance:
  resources:
requests:
cpu: "500m"
memory: "512Mi"
limits: cpu: "1000m" memory: "1024Mi"

resources:
  requests:
    cpu: "500m"
    memory: "512Mi"
  limits:
    memory: "1024Mi"
This configuration assigns reasonable resources for your workload without risking excessive usage, reducing unnecessary costs.
8. Managing Idle and Orphaned Resources
Orphaned resources, like unused Persistent Volumes (PVs) and idle load balancers, can inflate costs if left unchecked. After deleting a pod or namespace, check for orphaned PVs and remove any that are no longer needed. Here are some solutions to search for and manage orphaned resources in Kubernetes:
- Use kubectl commands: You can create a script that uses kubectl to list and identify orphaned resources. For example:
  #!/bin/bash

echo "Searching for orphaned and unused resources in Kubernetes..."

# List orphaned PVs
echo "Orphaned Persistent Volumes:"
kubectl get pv --no-headers | awk '$5 == "Released" {print $1}'

# List orphaned PVCs
echo "Orphaned Persistent Volume Claims:"
kubectl get pvc --all-namespaces --no-headers | awk '$3 == "Lost" {print $1, $2}'

# List idle LoadBalancers (requires manual review)
echo "Potentially unused LoadBalancers (manual review required):"
kubectl get svc --all-namespaces --no-headers | awk '$4 ~ /LoadBalancer/ {print $1, $2}'

# List pods in 'Completed' or 'Failed' state
echo "Pods in Completed or Failed state:"
kubectl get pods --all-namespaces --field-selector 'status.phase in (Failed,Succeeded)'

# List unused ConfigMaps
echo "Potentially unused ConfigMaps:"
kubectl get cm --all-namespaces -o json | jq -r '.items[] | select(.metadata.ownerReferences == null) | "\\(.metadata.namespace) \\(.metadata.name)"'

# List unused Secrets
echo "Potentially unused Secrets:"
kubectl get secrets --all-namespaces -o json | jq -r '.items[] | select(.metadata.ownerReferences == null) | "\\(.metadata.namespace) \\(.metadata.name)"'

echo "Resource search complete. Please review the results carefully before taking any action."
This expanded script includes additional checks for:
- Pods in ‘Completed’ or ‘Failed’ state
- Unused ConfigMaps and Secrets
- Ingresses without rules
- NetworkPolicies and PodDisruptionBudgets without selectors
Remember that this script provides potential candidates for cleanup. Always carefully review the results before deleting any resources to avoid unintended consequences.
To use this script effectively:
- Save it as a file (e.g.,
kubernetes_resource_check.sh) - Make it executable:
chmod +x kubernetes_resource_check.sh - Run it in your terminal:
./kubernetes_resource_check.sh
This script will help you identify potentially unused or orphaned resources across various Kubernetes object types, allowing for more comprehensive cluster cleanup and cost optimization.
Other ways to handle idle resources:
- Implement Kubernetes custom resources: Create custom resources and controllers to automatically detect and manage orphaned resources.
- Use Kubernetes cleanup tools: Tools like “kube-janitor” or “kubectl-reap” can automatically clean up orphaned and unused resources based on predefined rules.
- Set up monitoring dashboards: Use tools like Grafana with Prometheus to create dashboards that visualize orphaned resources and idle load balancers.
- Implement regular audits: Schedule periodic reviews of your cluster resources using the methods above to identify and remove orphaned resources.
These solutions provide practical ways to search for, monitor, and manage orphaned resources in your Kubernetes environment, helping you maintain a cost-efficient setup.
9. Monitoring with Custom Metrics
While CPU and memory metrics are common, custom metrics can provide more tailored insights into your application’s needs. For example, you might monitor request counts or response times, enabling you to scale based on actual traffic rather than resource consumption alone.
- Implement KEDA for Custom Metrics Scaling: KEDA (Kubernetes Event-driven Autoscaling) can be deployed within Kubernetes to enable autoscaling based on custom metrics. Set up KEDA scalers that align with your application’s specific metrics, allowing for more precise and efficient scaling of your workloads based on actual usage patterns rather than just CPU or memory consumption.
10. Implementing Budget Alerts
Budget alerts are essential for cost control. Set spending thresholds and receive alerts when costs approach a defined limit.
- Use Cloud Provider Alerts: AWS, GCP, and Azure provide budget alerting tools. For Kubernetes-specific insights, OpenCost is an open-source tool that tracks costs by namespace, application, or team, helping you identify high-spend areas early.
Tools to Help with Kubernetes Cost Management
Keeping costs in check with Kubernetes can be challenging, but there are several tools that leverage AI there that can help automating cost management in Kubernetes. Here are a few I’ve found really useful for keeping an eye on resource usage:
- OpenCost: OpenCost is an open-source tool designed for Kubernetes cost monitoring. It tracks spending by namespace, deployment, and label, making it easier to understand cost distribution and optimize accordingly. OpenCost is particularly useful for multi-tenant setups, where it helps allocate costs to specific teams or applications.
- Zesty: Zesty automates several cost-management tasks in Kubernetes. With its HiberScale technology, Zesty lets you hibernate and reactivate nodes in seconds, reducing compute costs by minimizing idle node buffers. Additionally, Zesty offers spot instance automation for more cost-effective workload coverage and autoscaling for Persistent Volumes (PVs) to avoid over-provisioning.
- AWS Cost Explorer for EKS: AWS Cost Explorer provides detailed insights for tracking EKS-related expenses on AWS. With budgeting features and trend analysis, it’s a valuable tool for teams using EKS, offering visibility into usage patterns and enabling proactive budget control.
Build a Cost-Efficient Kubernetes Setup
Optimizing costs in Kubernetes is all about balancing efficient architecture with ongoing management. Right-sizing nodes, setting up multi-tenancy, autoscaling workloads, and using tools like OpenCost and Zesty can help create a Kubernetes environment that’s both high-performing and cost-effective.
By regularly auditing, monitoring, and making targeted adjustments, you can keep your Kubernetes infrastructure aligned with both your operational needs and budget, ensuring maximum value without overspending. Kubernetes offers powerful scaling and resource management options, and with a proactive approach, you can make sure your setup stays optimized even as demand fluctuates.

