One Kubernetes challenge developers often face is the impact of image sizes on scaling speeds. The larger your container images, the longer it takes to pull them from the registry, leading to delays in scaling applications. As we scale up and down to meet demand, this delay can drastically impact our SLA and overall cost of our infrastructure.
The purpose of this guide is to give you practical tips that can make your scaling process faster and smoother. We’ll walk through how image size impacts scaling time, why faster scaling is essential for SLA compliance, and how you can optimize your container images to improve performance and reduce costs.
App Scale Time: The Problem with Large Images
When Kubernetes scales an application, it needs to pull the images associated with the containers. The more images there are, and the larger they are, the longer it takes for K8s to download them, extract them, and start the containers. This process is crucial because:
- Need to manage overprovisioning to handle delay between demand and resources: If scaling takes a significant amount of time, you need to configure a policy that will ensure an overhead that will bridge availability until resource supply will catch up with demand. This is a complicated work and usually based on vague intuition and rules of thumbs.
- Inability to react to traffic spikes: If scaling isn’t fast enough, your infrastructure may struggle to handle sudden increases in traffic. This delay can lead to service disruptions, such as downtime or performance degradation, which can impact user experience and potentially result in lost revenue.
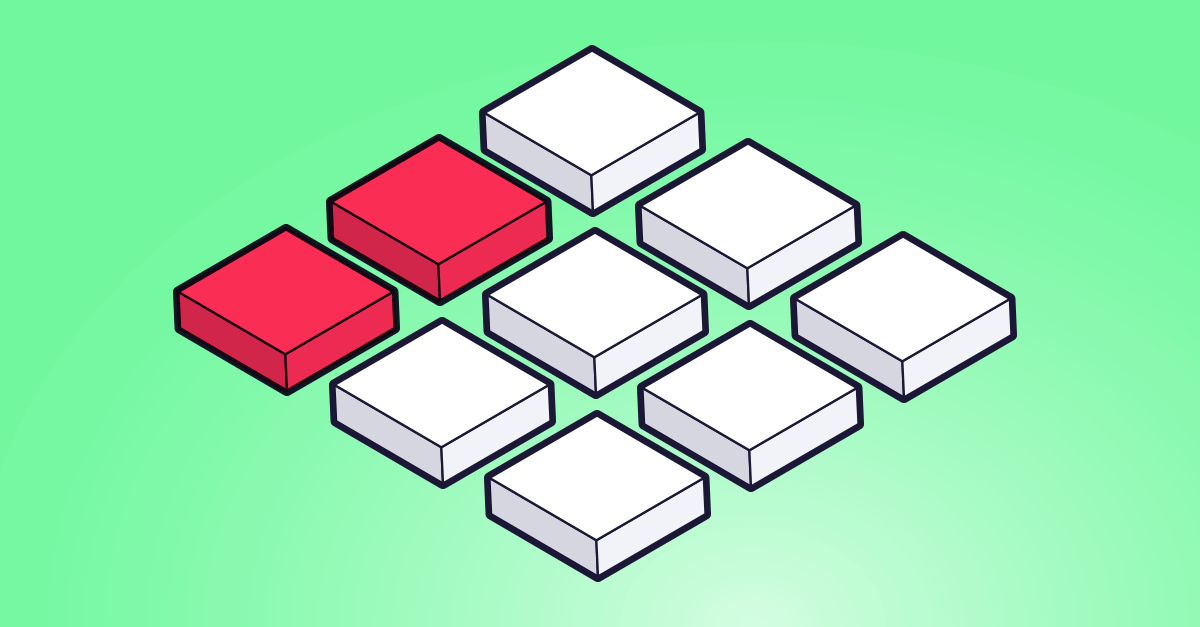
So, the size of your images has a direct impact on the speed at which your application can scale. Let’s say you are scaling 10 applications with large images at the same time. These images might be competing for bandwidth, all trying to download simultaneously. This can cause cannibalization, where each image pull is slowed down due to limited resources.
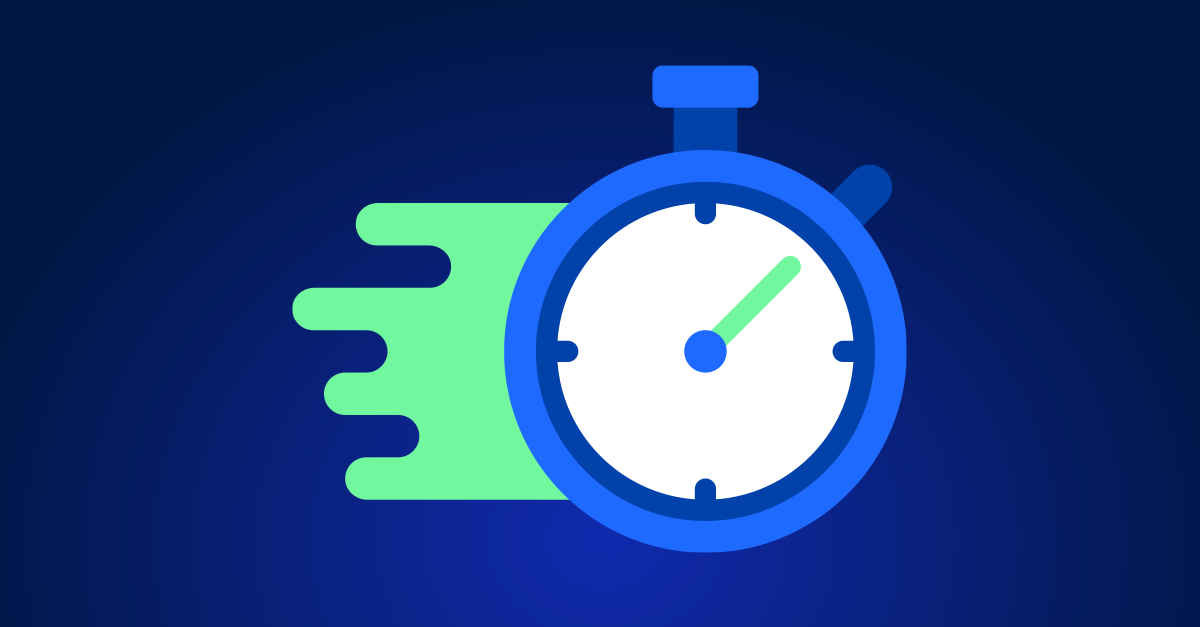
That’s why minimizing the size of your images can drastically cut down on this delay.
Faster scaling, on the other hand, reduces the need for overprovisioning by adjusting resources in real-time, relieving users from the need to allocate extra CPU and memory for potential spikes. This improves both your operational efficacy and the cost efficiency of your environment. It also helps prevent latency or downtime due to a shortage of ready pods in the workloads.
By optimizing image sizes, you can reduce the time spent in the “pulling” phase, which leads to faster scaling, more predictable performance, and reduced cloud costs.
How to Optimize Your Container Images
There are several strategies you can apply to optimize your container images and make your scaling process faster and more efficient. Let’s dive into the practical tips and techniques.
1. Use Multistage Builds
One of the most effective ways to reduce image size is to use multistage builds. This allows you to separate the build environment from the runtime environment, which drastically reduces the size of your final image.
Example:
  Stage 1: Build stage
FROM golang:1.16 AS build
WORKDIR /app
COPY . .
RUN go mod download && go build -o myapp .

Stage 2: Runtime stage
FROM alpine:latest
WORKDIR /app
COPY --from=build /app/myapp /app
CMD ["./myapp"]
In this example, the build dependencies (like the full Go environment) are only included in the first stage. The second stage contains just the compiled binary and a minimal runtime environment (Alpine), keeping the image lean and fast to pull.
2. Choose a Smaller Base Image
Instead of using a general-purpose base image like node or golang:1.24, consider using a more minimal base image such as distroless or Alpine for certain applications. These images are much smaller and include only the essential binaries, leading to faster pulls and more efficient resource usage.
Example:
Before:
FROM golang:1.24
After:
FROM gcr.io/distroless/base-debian11
In this example, golang:1.24 includes the Go runtime and build tools. Switching to gcr.io/distroless/base-debian11 leaves only the compiled binary and minimal runtime, drastically reducing the image size and improving pull speed and resource efficiency.
3. Minimize Dependencies and Files
Another key tip is to remove unnecessary dependencies and files. For instance:
- Avoid installing unnecessary packages: If you don’t need a package for runtime, don’t include it in your image.
- Don’t download dev dependencies.
This will reduce the number of files Docker has to handle, keeping the image size down.
4. Leverage Docker Layers Efficiently
Docker images consist of multiple layers, and each layer adds size to your image. You can reduce image size by ensuring that your Dockerfile commands are optimized.
For example, you should combine multiple RUN commands into a single one to reduce the number of layers in the final image.
Example:
  #Before

RUN apt-get update
RUN apt-get install -y curl

#After

RUN apt-get update && apt-get install -y curl
Alternatively, you can use docker build –squash to unify layers.
This reduces the number of layers created, making the image smaller.
Tools for Optimizing Container Images
1. Harbor
Harbor is an open-source container image registry that improves security and performance. It offers:
- Vulnerability scanning to secure images.
- Replication for redundancy.
- Efficient storage with image deduplication.
It streamlines image management, making scaling more efficient by ensuring quick access to secure, optimized images.
2. estargz
estargz optimizes image pulls by converting images into a format that can be streamed and unpacked during download, allowing for:
- Faster deployments by enabling lazy extraction.
- Reduced bandwidth usage, improving scaling speed.
It helps speed up image pulls without waiting for full downloads.
3. Zesty
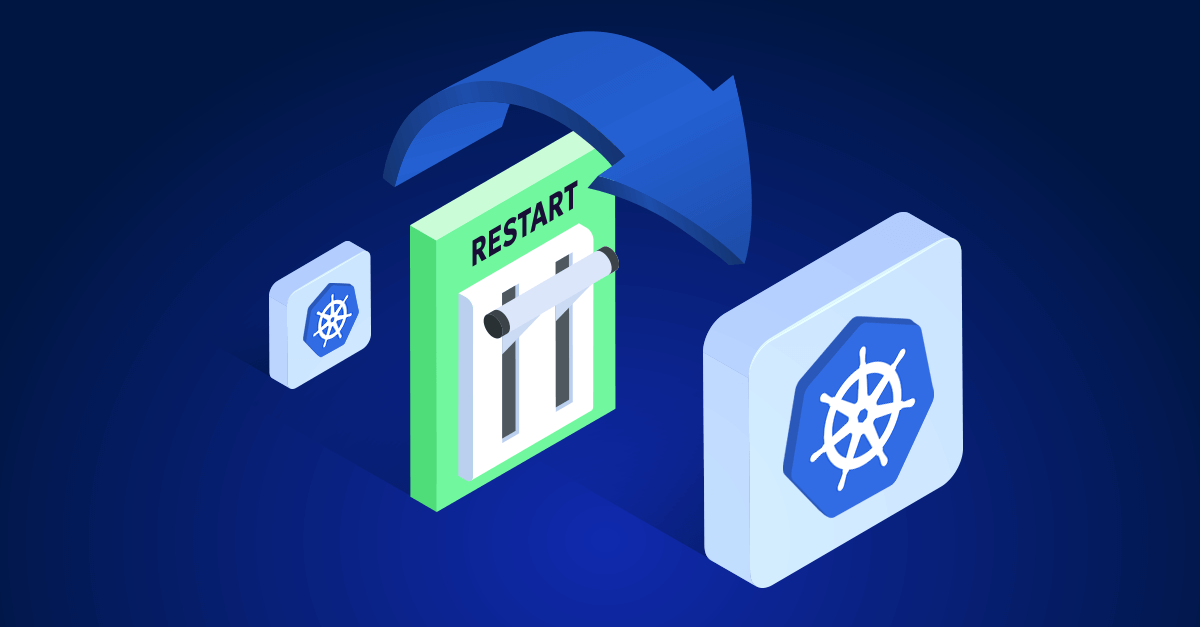
Zesty doesn’t reduce image size but optimizes deployment by keeping images hibernated on nodes for quick activation. This ensures:
- Faster scaling with pre-cached images.
- Seamless pod startups by eliminating image pull delays.
Zesty enhances deployment speed by preparing nodes in advance, ensuring quicker scaling without waiting for image downloads.
Optimizing for Speed, SLA, and Cost
Optimizing your Kubernetes container images is crucial to ensure your application meets your SLA, scales quickly, and minimizes costs. By following the strategies outlined in this article, you’ll be able to streamline your scaling process, avoid network bottlenecks, and run your applications more efficiently.
For more information, check out the Kubernetes Official Documentation, which provides in-depth guides and best practices for Kubernetes optimization. You can also refer to GitHub repositories for community-driven tools that help optimize Kubernetes workloads.
By optimizing images and automating best practices, you can make your scaling process faster, cheaper, and more reliable. So, next time you’re preparing your Kubernetes clusters, take the time to reduce image size, and watch your scaling times and costs drop!