
Karpenter has become the de facto choice for Kubernetes teams that need intelligent, dynamic scaling on AWS. It automates how compute capacity is provisioned and retired, ensuring workloads always have the resources they need without waste.
Yet, configuring Karpenter the right way for your environment is challenging, so it keeps your clusters performant, reliable, and cost-effective.
This guide walks through the core concepts and best practices for configuring Karpenter, with clear examples and checkpoints you can follow directly in your environment.
Understand the Context Before You Configure
Before diving into YAML files, it’s important to understand how Karpenter fits within your existing AWS and Kubernetes ecosystem.
What Karpenter Does
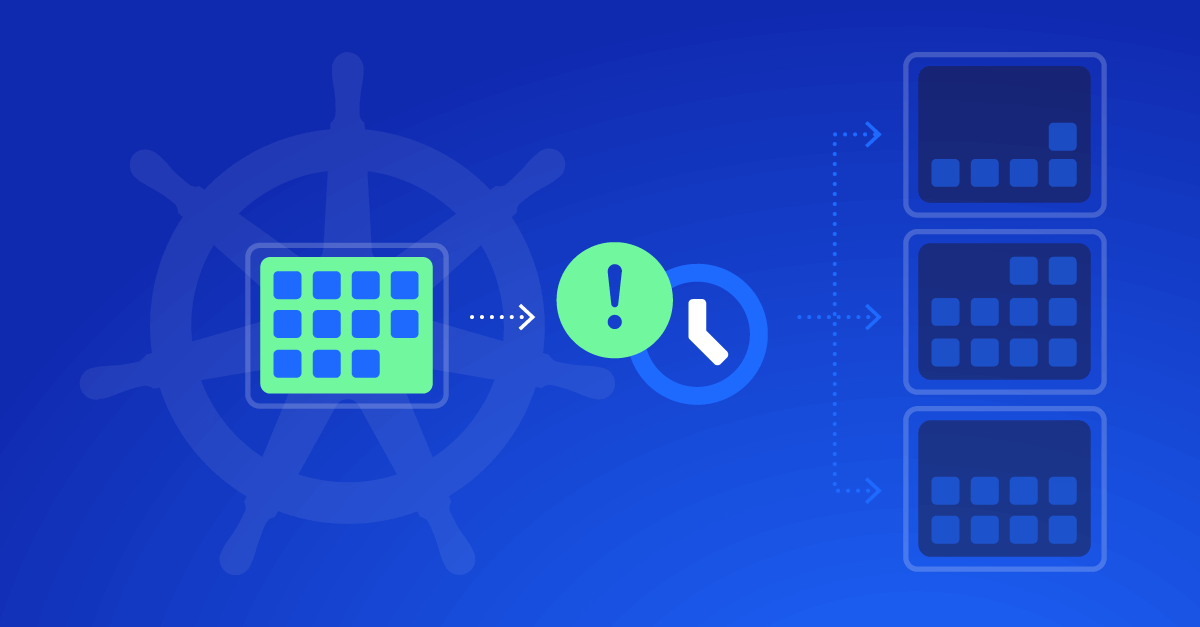
Karpenter replaces static node groups with an event-driven provisioning system. When pods can’t be scheduled, Karpenter immediately launches the most appropriate EC2 instance based on constraints you define. Once the node becomes unnecessary, it can terminate automatically, reducing idle capacity and costs.
Why Configuration Matters
Misconfigured provisioners can create large, expensive instances for lightweight pods, or worse, prevent pods from scheduling entirely. Configuring Karpenter well means balancing:
- Flexibility for different workloads
- Performance for critical services
- Cost efficiency across environments
Karpenter does the heavy lifting, but your configuration defines its intelligence.
Next: ensure your environment and prerequisites are ready before fine-tuning Karpenter.
Prerequisites and Environment Setup
Karpenter is an AWS-native controller for EKS. To configure it properly, you need a few pieces in place.
Tools and Access
Make sure you have:
- Kubectl and Helm installed locally
- AWS CLI configured with administrative access to your EKS cluster
- A working EKS cluster (v1.27 or newer recommended)
- IAM roles for the Karpenter controller and node instances, with permissions for EC2, EKS, and Auto Scaling
Networking Requirements
Your cluster must have:
- Tagged subnets with
kubernetes.io/cluster/<cluster-name> and karpenter.sh/discovery - Security groups that allow EKS control plane communication
- Access to the AWS API endpoint for node provisioning
For installation and version-specific setup steps, use the official Karpenter installation guide.
Once installed, confirm Karpenter is running:
kubectl get pods -n kube-system | grep karpenter
You should see the controller pod in a Running state before proceeding.
Next: let’s configure Karpenter so it provisions resources that truly fit your workloads.
Core Configuration Concepts: NodePool & NodeClass
NodePool: Define “What” to Scale and “When”
The NodePool resource (apiVersion karpenter.sh/v1, kind NodePool) is where you define scheduling constraints, limits, taints/labels, expiry and consolidation policies.
Here is a simplified example of a NodePool for general workloads:
  apiVersion: karpenter.sh/v1
kind: NodePool
metadata:
  name: general
spec:
  template:
    metadata:
      labels:
        environment: production
        team: my-team
    spec:
      nodeClassRef:
        group: karpenter.k8s.aws
        kind: EC2NodeClass
        name: general-class
      requirements:
        - key: "karpenter.sh/capacity-type"
          operator: In
          values: ["spot","on-demand"]
        - key: "node.kubernetes.io/instance-type"
          operator: In
          values: ["m6i.large","r6i.large","t3a.large"]
      limits:
        cpu: "500"
        memory: "1024Gi"
Checkpoint:
Run:
kubectl get nodepools
Your NodePool should show status Ready or similar with no errors.
Tip: Don’t over-constrain your requirements. If you specify only a single instance type, Karpenter loses flexibility and might delay provisioning when that type isn’t available.
EC2NodeClass (AWS-specific): Define “How” to Launch Nodes
The EC2NodeClass resource (apiVersion karpenter.k8s.aws/v1, kind EC2NodeClass) defines the AWS infrastructure details: which subnets, which security groups, which AMIs, tags, IAM roles etc.
Example:
  apiVersion: karpenter.k8s.aws/v1
kind: EC2NodeClass
metadata:
  name: general-class
spec:
  amiFamily: AL2023
  subnetSelectorTerms:
    - tags:
        karpenter.sh/discovery: my-cluster
        environment: production
  securityGroupSelectorTerms:
    - tags:
        karpenter.sh/discovery: my-cluster
        environment: production
  role: KarpenterNodeRole-my-cluster
Troubleshooting Tip:
If nodes aren’t launching, check the IAM role specified in role: or instanceProfile: and verify the subnets and security groups match the selectors you provided.
With NodePools and NodeClasses configured, you’re ready to teach Karpenter how to scale efficiently.
Smart Scaling and Right-Sizing with Karpenter
Balancing Spot vs On-Demand
With NodePools you can allow Karpenter to choose between Spot and On-Demand capacity via the requirements key (karpenter.sh/capacity-type). AWS indicates that Spot instances can offer savings up to ~ 90 % versus On-Demand in many cases.
By enabling both, you get the cost advantage of Spot when available and fallback to On-Demand when needed.
Discover how Zesty safeguards workloads against Spot interruptions with automated node replacement in under 40 seconds.
Expiry, Consolidation, and Clean-Up
Use expiration and consolidation policies in the NodePool spec to keep your cluster lean:
expireAfter:limit how long a node can live before being recycled.- Consolidation policies: when nodes are empty or under-utilized, Karpenter can reclaim them.
Example section inside NodePool spec:
  spec:
  disruption:
    consolidationPolicy: WhenEmptyOrUnderutilized
    consolidateAfter: 30m
Verification Step:
Deploy a spiky workload, watch new nodes spin up, then watch after the spike ends to ensure nodes terminate (or consolidate) within your expected timeframe.
Learn how Zesty automatically reduces minimum replicas and delivers 5X faster application boot time to handle traffic spikes safely.
Right-Sizing by Resource Requests
Encourage teams to set proper CPU/memory requests in their pods. Karpenter uses those to pick an appropriate instance type. Misconfigured pods that request 64 Gi when they need 2 Gi will lead to over-provisioned nodes.
Learn how Zesty adjusts pod resources across dynamic workloads automatically.
Next: organize your workloads and enforce efficient configuration with best practices.
Best Practices for Efficient Configuration
Use Multiple NodePools for Segmentation
Separate workloads by environment or characteristics:
- Prod NodePool: On-Demand only, stricter instance types
- Dev/Test NodePool: Include Spot, smaller instances
- GPU/ML NodePool: Different instance families (e.g.,
p4,g5)
This prevents one workload category from starving others or driving up costs unpredictably.
Avoid Over-Specific Instance Types
Rather than specifying m6i.large only, allow families like m6i.*, r6i.* so Karpenter can choose the best available instance within constraints.
Tag and Label Everything
Ensure your NodePools and nodes carry labels like team:my-team, environment:production, and AWS tags for cost allocation (CostCenter:1234). This supports FinOps workflows and cost-reporting.
Periodic Audits
Run kubectl describe nodepools and kubectl describe ec2nodeclasses periodically. Look for drift (where existing nodes differ from spec), nodes not being terminated, or limits being hit.
Next: set up monitoring and prepare to troubleshoot when things don’t behave as expected.
Monitoring, Troubleshooting, and Continuous Optimization
Key Metrics to Monitor
- Pending pods – if many are unschedulable, NodePools may be misconfigured.
- Provisioning latency – how long between pod unschedulable → new node ready.
- Node churn – too many node creations/terminations can indicate instability or mis-sizing.
Commands for Diagnostics
kubectl get nodepools
kubectl describe nodepool general
kubectl get nodeclaims -l karpenter.sh/nodepool=general
If a NodeClaim is stuck, check logs on the Karpenter controller pod.
Common Pitfalls
- IAM role missing required EC2 or subnet permissions → nodes never launch.
- Subnet selector tags do not match VPC setup → nodes can’t find a valid subnet.
- Taints without matching tolerations → pods won’t schedule, nodes remain idle.
- Setting
expireAftertoo low without checking disruption budgets → nodes might be terminated during important work and cause disruption.
Continuous Improvement
Set up dashboards (CloudWatch, Prometheus/Grafana) and review monthly. Track node utilization, Spot interruption rates, cost per pod. Teams routinely see double-digit percentage cost savings when actively tuning Karpenter configuration rather than leaving defaults.
Next: ensure your configuration is secure and well-governed as you scale out this practice.
Security and Governance Considerations
IAM Role Separation
Use separate IAM roles for different NodeClasses/environments (prod vs dev). Use least-privilege principles for Karpenter controller and nodes.
Tagging and Cost Allocation
Apply AWS tags and Kubernetes labels consistently: Owner, Environment, CostCenter, Team. This enables audit trails and aligns with FinOps frameworks.
Audit & Policy Enforcement
Use AWS Config or Kubernetes admission controllers to enforce that new NodePools or EC2NodeClasses meet your policy (approved AMI families, instance types, tag requirements).
Ensure you aren’t allowing unrestricted instance types without review.
Next: link all of this to cost optimisation so you can show real value beyond “just scaling”.
Cost Optimization Strategies with Karpenter
Combine Spot and On-Demand Intelligently
Leverage Spot for non-critical or batch workloads while reserving On-Demand for latency-sensitive services. Karpenter automates this mix dynamically.
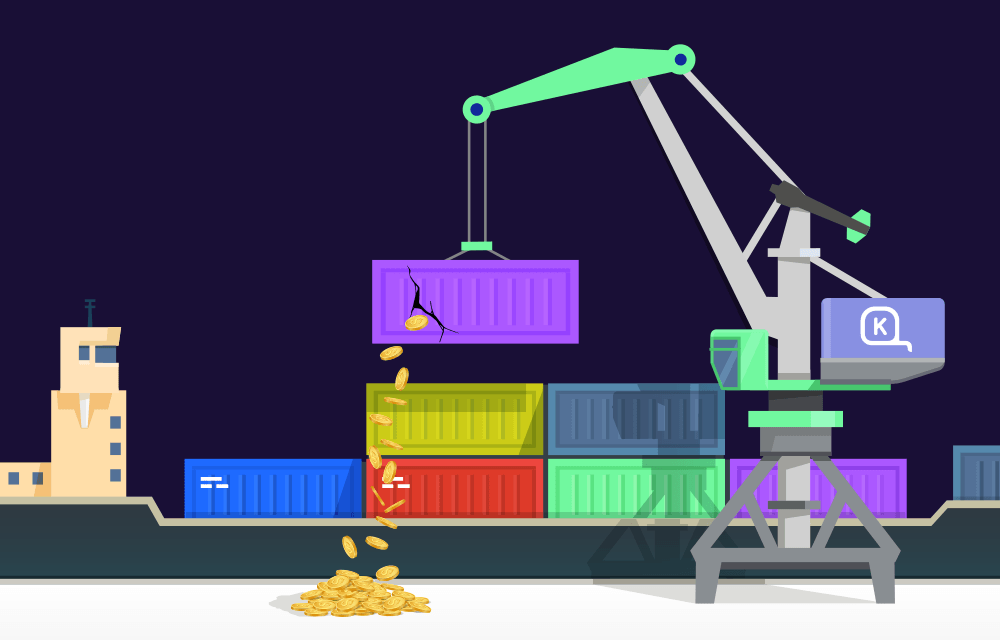
Consolidate Idle Capacity
With consolidation enabled, Karpenter can reduce cluster footprint by 15–25% on average (AWS Container Blog, 2024).
Measure and Iterate
Use AWS Cost Explorer and Zesty’s FinOps recommendations to measure the financial impact of your configuration.
Look for trends in node utilization, Spot interruptions, and total cluster cost.
Next: wrap up your configuration journey and plan your next optimization phase.
What’s Next?
A properly configured Karpenter setup gives you a self-optimizing cluster that scales instantly, trims waste automatically, and adapts to workload changes with minimal manual input.
You’ve learned how to:
- Configure Provisioners and Templates effectively
- Balance Spot and On-Demand usage
- Enable consolidation and cost visibility
- Monitor, troubleshoot, and secure your environment
For further reading:
- Rightsizing Applications on Kubernetes the Right Way
- Best Practices for Upgrading EKS Clusters with Karpenter
Take your configuration, run controlled load tests, and watch how your cluster evolves. Every tweak you make to Karpenter’s rules brings you closer to a system that truly runs itself.