Running a staging environment in Kubernetes is essential for testing changes before they hit production. While keeping it running 24/7 can add up, staging environments often require a continuous operation to monitor pre-production versions and catch bugs that only surface over time. Cost-saving tactics may be more suitable for additional testing environments, where uptime can be less critical, allowing greater flexibility in resource allocation.
Let’s dive into practical strategies for optimizing costs in staging and testing environments, helping you maintain efficiency without sacrificing functionality. By the end, you’ll have a toolkit of strategies to optimize expenses across various non-production environments.
1. Scale Down Resources When Not in Use
In environments other than production, you don’t typically need as many resources, especially during off-hours. Scaling down resources when they aren’t in use is one of the most straightforward ways to save costs.
- Horizontal Pod Autoscaler (HPA): Configure HPA to automatically scale down pods based on load. During times of low usage, like nights or weekends, the autoscaler will adjust resources accordingly, helping reduce costs.
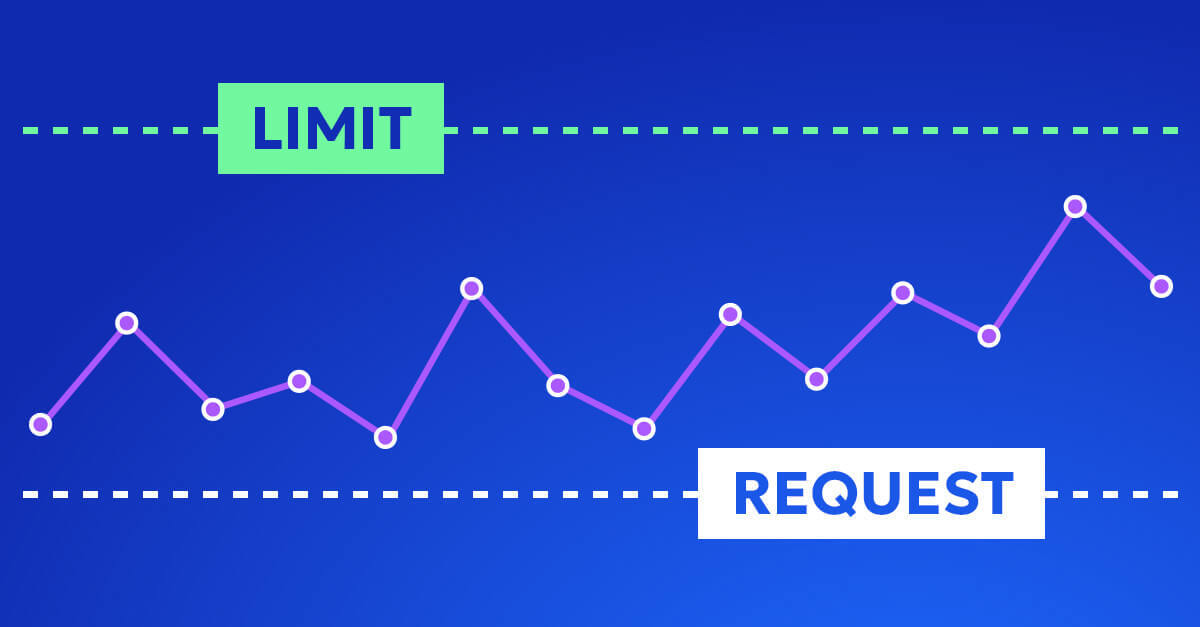
- Vertical Pod Autoscaler (VPA): For environments other than production, set resource limits that fit the workload requirements. Staging pods don’t always need the same CPU or memory as production, so setting lower thresholds can lead to significant savings. However, if staging serves as the final testing ground before production, maintaining production-level resources may be crucial for detecting infrastructure-specific bugs. This strategy might be best suited for additional test environments where performance needs are more flexible.
For extra control, you can use a cron job to automate resource scaling according to a set schedule, scaling down at night and scaling up during work hours.
2. Use Spot Instances for Lower-Priority Workloads
Spot Instances, also known as Preemptible VMs (in GCP) or Spot VMs (in AWS), are significantly cheaper than on-demand instances. These are ideal for environments that can handle temporary interruptions, such as testing or certain staging workloads.
- Node Pools with Mixed Instances: Configure your Kubernetes node pools to use a mix of Spot and on-demand instances, prioritizing Spot for non-critical environments. If a Spot instance is terminated, Kubernetes will attempt to reschedule the workload, making this setup both cost-effective and resilient.
- Design for Interruption: Designing for interruptions not only helps manage costs but also strengthens application robustness, enhancing production readiness by building resilience to unexpected failures. If interruptions occur, Kubernetes will automatically reschedule terminated Spot pods, so design your environment to tolerate brief downtimes without impacting development.
3. Leverage Namespaces and Shared Resources
Instead of managing multiple clusters, consider consolidating environments into a single cluster and using Kubernetes namespaces to isolate different projects or teams. This approach reduces redundant resources across clusters.
- Resource Quotas: Set quotas on CPU, memory, and storage for each namespace to prevent resource exhaustion. This allows multiple teams or projects to share resources without risking overruns or cost spikes.
- Structured Access Control Management: Consolidating environments into one cluster requires a well-structured access control strategy to prevent applications, teams, or environments from accidentally interfering with one another. With proper management, namespaces can simplify operations while reducing infrastructure and maintenance costs.
4. Turn Off Idle Workloads with Scheduled Jobs
Staging and test workloads are typically active during business hours but often idle the rest of the time. By automating shutdowns when workloads aren’t needed, you can further control costs.
- Kubernetes CronJobs: Use CronJobs to schedule tasks that start or stop specific deployments. For instance, you could set up a CronJob to scale down deployments after hours and scale them back up in the morning. This approach keeps the environment ready for testing while minimizing costs during off-peak hours.
- External Automation Tools: Tools like Argo, which is designed for Kubernetes environments, allow you to control workload deployments based on CI/CD needs. For example, you can trigger a staging environment only when a pull request is opened, reducing costs by running workloads only when active testing is required.
5. Use Ephemeral Environments for Short-Lived Testing
For specific tests that don’t require a persistent staging environment, consider using ephemeral environments—temporary setups that only exist for the duration of a test. By creating and tearing down these environments as needed, you can reduce costs by running resources only when required.
- Ephemeral Namespaces: Use tools that offer namespace-as-a-service capabilities to create ephemeral namespaces within a shared cluster. These temporary namespaces exist only as long as they’re needed, reducing idle resource consumption and associated costs.
- Preview Environments with Helm or Terraform: When testing full deployments, tools like Helm or Terraform allow you to spin up preview environments directly from your CI/CD pipelines. These preview environments are complete yet temporary, offering an isolated setup for feature testing without permanent resource allocation.
6. Use Efficient CI/CD Pipelines to Limit Resource Use
Another effective way to save on costs is by optimizing your CI/CD pipeline processes, limiting unnecessary resource usage in testing and staging.
- Scale Based on Need: Dynamically scale resources by removing idle agents and scaling up based on the incoming job queue. This helps to avoid resource waste and keeps costs aligned with workload demand.
- Optimize Build and Test Stages: Fine-tune your build and test stages by caching dependencies and using lightweight container images. Faster builds and tests mean reduced time and resource expenditure.
- Trigger Only Essential Tests in Staging: Running only high-level integration or acceptance tests in staging while reserving extensive tests for earlier environments can also reduce costs. This ensures a high confidence level in deployments without requiring an always-on, high-cost environment.
7. Right-Sizing and Resource Requests
For non-critical environments, right-sizing resources can prevent costly over-provisioning.
- Burstable CPUs and Smaller Instance Types: For environments that don’t require continuous uptime, consider using burstable instances or smaller instance types to limit costs. This strategy works well for environments where high performance isn’t consistently needed, allowing you to maintain operational efficiency without overextending budgets.
However, if staging serves as the last line of defense before production, matching production’s infrastructure is beneficial for spotting issues before they impact end users. Non-critical environments are ideal for cost-optimization strategies, while staging, if essential for quality assurance, may require closer resource alignment to production.
Balancing Efficiency and Functionality Across Environments
Running cost-effective staging and testing environments in Kubernetes is about more than just scaling down resources. By using tools like Spot Instances, shared clusters, ephemeral environments, and efficient CI/CD practices, you can enhance functionality without overspending. Staging and testing environments are essential for ensuring production stability, but only critical pre-production environments need the same infrastructure investment as production. With the right approach, you can balance efficiency across all your non-production environments, maximizing both functionality and cost control.
This version includes your insights on pre-production staging needs, adjustments for different environments, and refined suggestions for tools and strategies. Let me know if you’d like any further tweaks!

