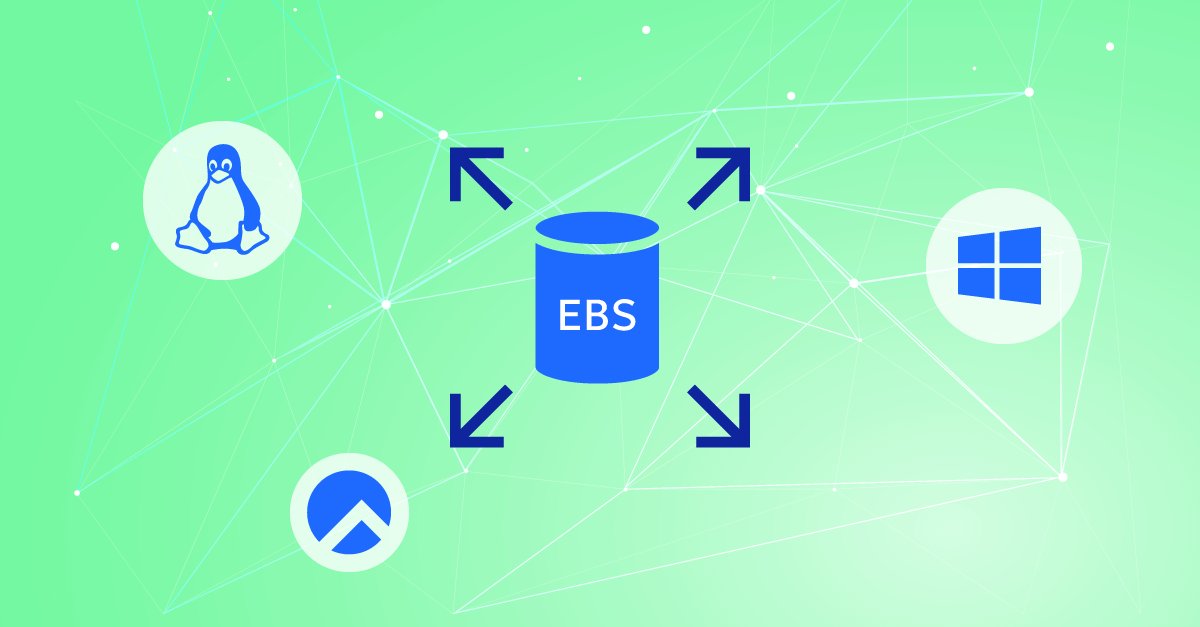
Elastic Block Storage (EBS) is a fundamental component of AWS, providing reliable and scalable storage that can be attached to your Amazon EC2 instances. For users running Windows on AWS, EBS offers a versatile and high-performance storage solution that integrates seamlessly with Windows Server environments. This guide will walk you through the essential steps to set up, manage, optimize and run EBS for Windows, ensuring you can leverage the full potential of AWS’s block storage capabilities.
1. Attaching an EBS volume to a Windows EC2 instance
Attaching an EBS volume to your Windows instance is the first step in expanding your storage capabilities.
Step-by-Step Process:
- Step 1: Log in to the AWS Management Console and navigate to the EC2 dashboard.
- Step 2: In the left-hand menu, select “Volumes” under the “Elastic Block Store” section.
- Step 3: Click on “Create Volume” to configure a new EBS volume. Choose the appropriate volume type based on your workload needs:
- General Purpose SSD (gp3/gp2): Ideal for most workloads, offering a balance of price and performance.
- Provisioned IOPS SSD (io2/io1): Best for I/O-intensive applications requiring high and consistent performance.
- Magnetic (standard): Suitable for infrequently accessed data.
- Step 4: Specify the size of the volume in GiB and select the Availability Zone (AZ) where your Windows EC2 instance resides.
- Step 5: After creating the volume, return to the “Volumes” list, select your new volume, click “Actions,” and choose “Attach Volume.”
- Step 6: In the dialog box, select your Windows EC2 instance from the dropdown menu and confirm the attachment.
2. Initializing and formatting the EBS volume in Windows
Once your EBS volume is attached, it must be initialized and formatted before it can be used.
Step-by-Step Process:
- Step 1: Connect to your Windows EC2 instance using Remote Desktop Protocol (RDP). Ensure that RDP is enabled and that you have the necessary credentials.
- Step 2: After logging in, open the “Disk Management” utility by right-clicking on the “Start” button and selecting “Disk Management” from the menu.
- Step 3: Upon opening Disk Management, you should see a prompt to initialize the new disk. Choose the disk corresponding to the attached EBS volume.
- Step 4: Select the partition style:
- MBR (Master Boot Record): Suitable for disks smaller than 2TB.
- GPT (GUID Partition Table): Recommended for disks larger than 2TB or if you need advanced partitioning features.
- Step 5: Once initialized, the disk will appear as unallocated space. Right-click on the unallocated space and select “New Simple Volume” to launch the New Simple Volume Wizard.
- Step 6: Follow the wizard to configure the volume:
- Assign a drive letter: Choose a drive letter that is not already in use.
- Format the volume: Choose NTFS as the file system, and optionally label the volume for easier identification.
- Perform a quick format: This option is usually sufficient and much faster than a full format.
- Step 7: Click “Finish” to complete the volume creation process. The volume is now ready for use, and you can access it like any other drive in Windows.
3. Configuring EBS Performance Settings for Windows
To maximize the performance of your EBS volume on Windows, it’s essential to configure the appropriate settings based on your specific use case.
Key Performance Considerations:
- EBS Optimization: Ensure that your EC2 instance type supports EBS-optimized performance. This provides dedicated throughput between your EC2 instance and EBS, minimizing the chances of network congestion affecting disk performance.How-To Check:
- In the EC2 dashboard, select your instance and verify that “EBS-Optimized” is listed as “true” under the instance properties.
- Disk I/O Settings: Depending on your workload, you may need to adjust Windows settings to optimize I/O operations.
- Disk Write Caching: For certain workloads, enabling disk write caching can improve performance. However, it can also increase the risk of data loss during a power failure. To configure this:
- Open “Device Manager” and expand the “Disk drives” section.
- Right-click on the EBS volume, select “Properties,” and navigate to the “Policies” tab.
- Here, you can enable or disable write caching as needed.
- Disk Write Caching: For certain workloads, enabling disk write caching can improve performance. However, it can also increase the risk of data loss during a power failure. To configure this:
- Defragmentation and Disk Maintenance: While modern SSDs used in EBS do not require traditional defragmentation, regular disk maintenance tasks such as clearing temporary files and optimizing disk space can help maintain performance.
4. Backing Up and Restoring Data with EBS Snapshots
Creating snapshots of your EBS volumes is a crucial practice for data protection and disaster recovery.
Step-by-Step Process for Creating Snapshots:
- Step 1: In the AWS Management Console, go to the EC2 dashboard and select “Volumes” under the “Elastic Block Store” section.
- Step 2: Choose the EBS volume you wish to back up.
- Step 3: Click “Actions” and select “Create Snapshot.”
- Step 4: Provide a name and description for the snapshot to make it easier to identify later.
- Step 5: Click “Create Snapshot.” AWS will now create a point-in-time snapshot of the volume.
Snapshots are incremental, meaning that only the blocks that have changed since your last snapshot are saved. This makes the process efficient in terms of time and storage costs.
Restoring data from a Snapshot:
If you need to restore data from a snapshot, follow these steps:
- Step 1: In the AWS Management Console, navigate to the “Snapshots” section under “Elastic Block Store.”
- Step 2: Find the snapshot you want to restore from, click “Actions,” and choose “Create Volume.”
- Step 3: Specify the necessary settings for the new volume, including the size and Availability Zone.
- Step 4: Attach the newly created volume to your Windows EC2 instance. Follow the steps outlined in the “Attaching an EBS Volume” section.
- Step 5: Once attached, initialize the volume in Windows Disk Management if needed, and mount it to access the restored data.
5. Monitoring and maintaining EBS performance
Ongoing monitoring and maintenance are essential to ensure that your EBS volumes continue to perform well over time.
Tools and Techniques:
- Amazon CloudWatch:
Use CloudWatch to monitor the performance of your EBS volumes. These include metrics such as read/write operations, throughput, and latency. Set up alarms to notify you of potential performance issues or when thresholds are exceeded. - How-To Set Up Monitoring:
- In the CloudWatch dashboard, create an alarm based on key metrics like
VolumeReadOpsorVolumeWriteOps. - Configure notifications to be sent via email or SMS when these metrics exceed predefined limits. This enables you to take prompt action.
- In the CloudWatch dashboard, create an alarm based on key metrics like
- Disk Cleanup and Optimization: Periodically run disk cleanup utilities to remove unnecessary files and optimize disk space. Windows provides built-in tools for disk cleanup and optimization that can help maintain the health of your EBS volumes.
A powerful and flexible storage solution for Windows
Running Elastic Block Storage on Windows within AWS offers a powerful, flexible, and scalable storage solution that can be tailored to meet a wide range of enterprise needs. By following the steps and best practices outlined in this guide, you can ensure that your EBS volumes are set up correctly, perform optimally, and are safeguarded against data loss. Whether you’re setting up a new volume, optimizing performance, or managing backups, these strategies will help you get the most out of your EBS deployment on Windows.